That gut-punch moment. We have all been there: happily coasting on the flat, feeling strong, until the road suddenly tilts upward. Instantly, your bike feels like it is made of lead, your legs are burning, your lungs are screaming, and the hill ahead transforms into a sheer, insurmountable wall. For most cyclists, this is the part of the ride where joy fades, and survival mode kicks in.
It is absolutely the most challenging part of cycling, and every single rider, from the seasoned veteran to the Sunday beginner, has had to learn the hard way. The good news is, conquering a hill is not only about having bigger leg muscles or a lighter bike. The true secret to climbing lies in skill, finesse, and applying a smart strategy. Climbing is a completely separate discipline from flat riding, and it is genuinely a skill that can be learned, practiced, and mastered over time.
This is not just another article on how to ride a bike uphill. This is a complete guide designed to fundamentally rewire your approach to any ascent. We are going to break down the climb into three distinct, manageable pillars: Gearing (understanding your mechanical advantage), Technique (maximizing your body’s efficiency), and Pacing (mastering your mental and physical strategy).
By focusing on these three pillars, you will transform your cycling. Ready to stop dreading the climb and start embracing the challenge? Let us dive into the core strategies for effective bike climbing technique so you can enjoy the view from the top.
The Mechanical Advantage: Mastering Your Gears (Immediate Fix)
Pre-Climb Strategy: Shift Early, Shift Often
The single fastest improvement you can make to how to ride a bike uphill is learning to use your gears properly. Think of your gear system as a transmission designed to keep your legs turning at a comfortable, consistent speed, regardless of the terrain. The biggest mistake cyclists make is waiting too long to shift, trying to power through the resistance.
The Golden Rule of Cadence
Cadence is simply how fast your pedals are spinning, measured in Revolutions Per Minute (RPM). When the road goes up, the resistance increases, and your RPM naturally drops. The key is to fight that drop by shifting into an easier gear. The goal is to keep your legs spinning (around 80−90 RPM) instead of grinding (a painful 50−60 RPM). Spinning uses your cardiovascular system (lungs and heart), which is far more sustainable than grinding, which uses brute muscle strength and builds lactic acid rapidly. A higher cadence conserves energy for the long haul.
The Pre-Climb Shift
When you see a hill approaching, you must execute the pre-climb shift. Waiting until your pedals are jammed and you are already struggling means shifting will be difficult, jerky, and can put immense strain on your drivetrain (chain, derailleur, and cogs). The easiest way to break a chain is to try to force a shift under maximum tension.
The pro move? Shift into your desired climbing gear while you are still on the flat, easy section just before the gradient bites. This ensures a smooth transition, protects your equipment, and starts the climb with the correct, sustainable cadence from the very first meter.
Understanding Your Drivetrain
To truly master the climb, you need a basic vocabulary for your gears:
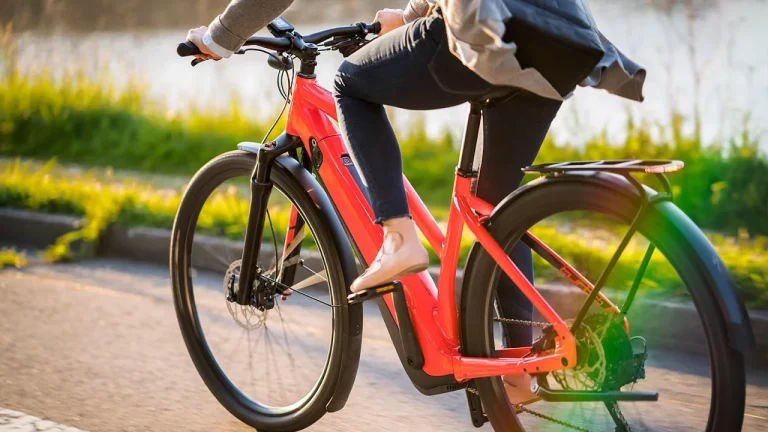
- Chainrings (Front Gears): These are the large rings near your pedals. You typically have two (big and small). The small chainring is your climbing gear; it provides the least resistance and is essential for steep gradients.
- Cogs/Cassette (Rear Gears): This is the stack of gears on your rear wheel. They are often referred to by the number of teeth they have. The largest cogs (the ones that look like dinner plates) are your easiest, lowest-resistance gears.
Your Go-To Climbing Gear for the toughest sections should always involve the smallest chainring paired with the largest cassette cog. This combination gives you the greatest mechanical advantage, making each pedal stroke significantly easier.
Gear Selection for Different Gradients
The perfect gear is rarely the same for two different hills. Smart riders adapt their gear choice based on the climb’s character, saving their easiest gears for when they need them most.
Short, Punchy Climbs
These are steep but brief ascents, often less than a minute. For these, momentum is your friend. Do not immediately dump into the smallest chainring. Instead, use a mid-cassette gear (a slightly harder gear than your easiest) and utilize the speed you carried from the flat. You might stand up briefly for a momentum boost, but the primary focus is maintaining a quick pace until you crest the top.
Long, Sustained Ascents
This is where true pacing skill is required. For climbs that last five minutes or more, your mantra must be conservation. Start immediately in a comfortable gear, usually the small chainring and a mid-to-large cog, and stick to that comfortable cadence. Do not be afraid to shift to your absolute easiest gear (the “dinner plate”) early on. It is better to have an easy gear and save your legs than to spend five minutes straining and then have nothing left. View your easiest gear as your survival mode tool, available to keep you moving forward when the fatigue hits hardest.
Cross-Chaining Warning
As you practice how to ride a bike uphill, you will hear the term cross-chaining. This is a crucial concept to avoid. Cross-chaining happens when you use the two extremes of your drivetrain simultaneously:
- Big chainring in the front + Biggest cog in the back.
- Small chainring in the front + Smallest cog in the back.
In both scenarios, your chain runs diagonally across the bike. This twisting creates friction, makes a horrible grinding noise, accelerates component wear, and, most importantly, wastes a lot of the power you are trying to produce. If you find yourself cross-chaining, shift your front chainring and find a corresponding gear on the rear cassette that keeps the chain line straighter.
Body Mechanics: The Efficient Climbing Position (Technique Focus)
Once you have the mechanical side sorted out, the next step in conquering the ascent is learning how to efficiently use your body. The right technique converts maximum effort into maximum forward motion.
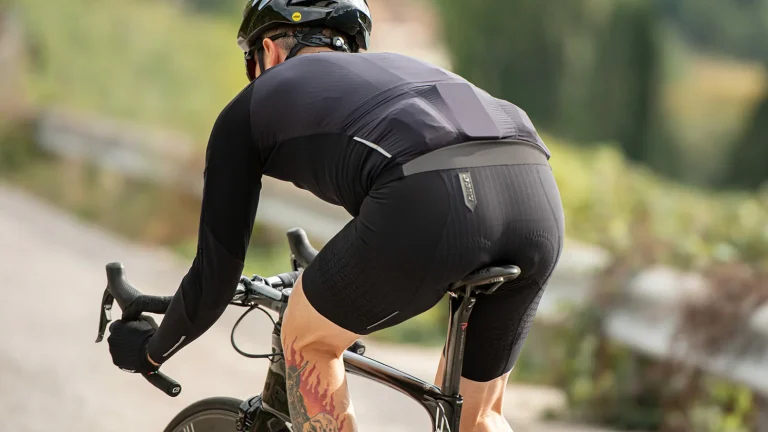
Seated Climbing: The Foundation of Efficiency
For the vast majority of any long climb, you should remain seated. Sitting down allows you to maximize the strength of your glutes and hamstrings, which are the powerhouses of endurance cycling.
Weight Distribution (The ‘Climbing Triangle’)
As the road ramps up, your tendency will be to slide forward on the saddle. Resist this. Instead, try to shift your weight ever so slightly back toward the rear of the saddle. This subtle movement does two things:
- Maximizes Leverage: It puts you over the top of the pedal stroke, allowing your hip flexors and glutes to push down with more force.
- Improves Traction: It keeps weight on the rear wheel, preventing slippage, a common issue when standing or leaning too far forward on steep grades.
Think of your contact points, hands, feet, and rear, forming a stable “climbing triangle.” Keep that triangle balanced.
Hand Position
For seated climbing, your hands should rest gently on the hoods (the rubber casings covering the brake levers). This position keeps your chest open, allowing your lungs to expand fully to take in maximum oxygen. Crucially, your grip should be relaxed. Do not white-knuckle the handlebars! Tension in your hands and arms travels up your shoulders, engaging muscles that do nothing to propel the bike forward. This wasted effort quickly turns into wasted energy.
Core Engagement
Many people think climbing is all legwork, but it is actually a full-body exercise. Engage your core (abdominal and lower back muscles) to stabilize your hips. When your core is locked in, your lower body becomes a rigid platform. This prevents your hips from rocking side to side, ensuring that all the power generated by your legs is directed straight into the pedals, resulting in smooth, efficient power delivery.
Standing (Dancing on the Pedals): When and How to Attack
Standing up, often called “dancing on the pedals,” is a highly effective, but high-cost, technique. You should use it sparingly on long climbs because it requires significantly more energy than remaining seated.
The Momentum Boost
Use the standing position for two primary reasons:
- To gain speed: Standing up and accelerating allows you to briefly attack a challenging section, like the final 100 meters of a climb.
- To relieve muscle fatigue: If your glutes are locking up from seated climbing, standing for 15 to 30 seconds lets you engage different muscle groups (quads and calves), providing a brief but necessary break.
The Side-to-Side Sway
When standing, allow the bike to rock or sway slightly from side to side beneath you. As the bike leans to the left, push down hard with your right foot, and vice versa. This action recruits your entire body weight into the pedal stroke, giving you maximum leverage. Keep your body centered over the bottom bracket (the axle connecting your cranks), and let the bike swing under a stable upper body.
Preventing Wheel Spin
This is a subtle, advanced tip for how to ride a bike uphill while standing: drop one or two gears down before you stand up. Standing increases the torque (rotational force) you apply to the pedals dramatically. If you stand in the same gear you were sitting in, you risk the rear wheel spinning out, especially on loose pavement or gravel. Downshifting ensures your legs do not suddenly become overwhelmed and keeps the power smooth and controlled.
Breathing and Relaxation
If you are tense, you are wasting energy. Good climbing technique starts with a relaxed body and ends with steady breathing.
Diaphragmatic Breathing
Forget shallow chest breaths. Focus on diaphragmatic breathing (belly breathing). When you inhale, your stomach should expand, not your chest. This pulls air deeper into your lungs, maximizing the oxygen exchange and ensuring your muscles get the fuel they need. Maintain a consistent, deep rhythm, even when the effort feels overwhelming.
The Relaxed Rider
Periodically scan your body for tension. Are your shoulders hunched up near your ears? Are you gripping the handlebars tightly? If so, consciously drop your shoulders and relax your grip. Tension in the upper body restricts blood flow and forces you to use accessory muscles that should be resting. The less energy you spend gripping the bike, the more you save for turning the pedals.
Pacing and Mental Strategy (The Mind Game)
The greatest climb killer is often mental, not physical. Learning how to ride a bike uphill requires mastering the skill of sustainable effort and having a robust mental toolkit.
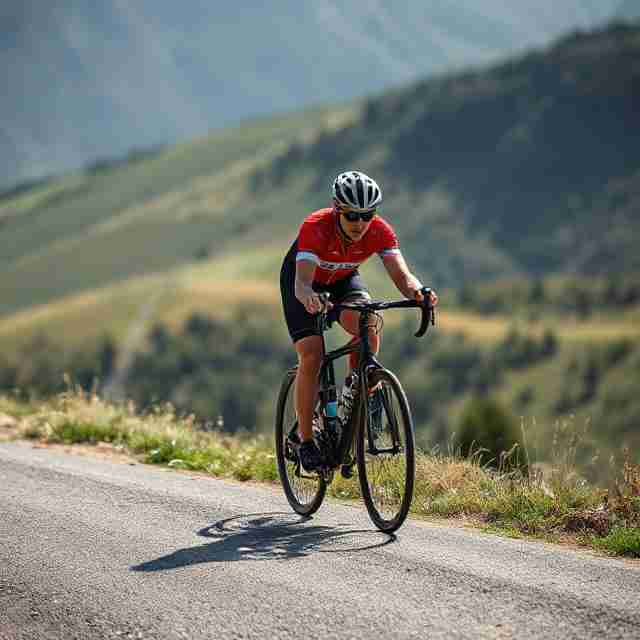
The Sustainable Pace: Never Start Too Fast
The most common mistake on any climb is attacking the base too hard. This is the surest way to guarantee a painful, slow finish. Always start slower than you think you should.
Rate of Perceived Exertion (RPE)
The RPE scale is your simplest tool for pacing. It is a 1 to 10 scale, where 1 is sitting on the couch and 10 is maximum, all-out effort. For a long, sustained climb (say, five minutes or longer), you should aim to maintain an RPE of 6 or 7. This is an effort you can maintain indefinitely without blowing up. If you start hitting 8 or 9 right away, you are in the red zone and will quickly pay the price by slowing drastically halfway up.
Heart Rate Zones
If you use a heart rate monitor, this is vital. Get familiar with your Lactate Threshold (LT). For long climbs, you want to stay near or just below your LT. Pushing into the “red zone”, the effort level you can only hold for a few minutes, is acceptable only during short, punchy efforts or in the final moments before the summit. Discipline yourself to hold back in the early stages; the reward is a powerful, steady finish.
The Visual Map
Hills can feel demoralizing when you look up and see the distant, tiny crest. The key is to never focus on the finish line. Instead, segment the climb into small, achievable landmarks. Focus on reaching the next bend in the road, the mailbox 50 meters ahead, or the end of the guardrail. These small victories are psychologically powerful, keeping you engaged and preventing that overwhelming feeling of distance.
The Mental Toolkit
Your mind will try to quit long before your legs do. Equipping yourself with a mental toolkit is crucial for pushing through the burn.
The ‘Never Look Down’ Rule
Looking down at your front wheel makes the hill feel steeper and forces you into a hunched, inefficient position that restricts breathing. The ‘Never Look Down’ Rule is a classic for a reason. Keep your gaze up and forward. Not only does this keep your chest open for maximum oxygen intake, but it also helps you look through the climb, maintaining momentum and morale. Always look where you want to go.
Positive Self-Talk
When the pain starts, your brain will flood you with reasons to stop or slow down. You need to interrupt that negative self-talk with affirmative, simple instructions. Do not let your mind focus on the suffering; tell it what to do. Replace thoughts like “I cannot do this” with instructions like:
- “Smooth pedal strokes.”
- “Deep breath in.”
- “Shoulders relaxed.”
- “Hold 85 RPM.”
These simple directives keep you focused on technique and pacing, which are the only things that truly matter in the moment.
V. Training and Equipment Optimization (Long-Term Mastery)
Mastering how to ride a bike uphill is ultimately achieved through smart, consistent training and minor equipment tweaks. These are the long-term investments that pay off with every ascent.
Training Drills to Build Climbing Fitness
You have to train specifically to climb. Simply riding lots of miles will help, but targeted workouts will transform your ability to handle gradients.
Hill Repeats
This is the gold standard for building pure climbing power and endurance. Find a hill that takes 3 to 8 minutes to climb. Ride up at a hard effort (RPE 8) and ride down slowly for recovery. Repeat this process 4 to 6 times. This high-intensity interval training builds your VO2 Max, the maximum amount of oxygen your body can use, which is directly responsible for your ability to maintain effort during sustained climbs.
Low-Cadence/High-Force Work
To build raw leg strength (torque) without finding a massive mountain, try this drill on a flat road or slight incline: shift into a harder gear (small chainring, small cog or two) and consciously pedal at a slow pace (around 50−60 RPM). The key is maintaining smooth, consistent force without mashing the pedals. These high-force efforts build the resilience needed to push through the toughest sections of a hill without your muscles failing.
Zone 2 Endurance Rides
While high-intensity work is vital, the foundation of all cycling fitness is endurance. Zone 2 is a comfortable, conversational pace (around 60−70% of your maximum heart rate). Dedicate one long, steady ride a week to this effort. These rides are crucial for improving your body’s ability to burn fat for fuel and growing your capillaries, which deliver oxygen to the working muscles. Long, easy hours on the bike make hard efforts on the hills sustainable.
Equipment Checks for Climbing Success
While you do not need to drop thousands on a super light bike, small, smart changes to your setup can yield significant returns when gravity is your enemy.
The Weight Battle
Every gram matters when you are fighting gravity. While ditching your second water bottle or heavy saddle bag might seem small, the cumulative effect of weight loss is noticeable on steep grades. Assess your bike: are you carrying unnecessary tools, old equipment, or a heavy seat pack? Focus on ditching weight from the rotational mass, your wheels and tires. Lighter wheels accelerate faster and require less energy to keep spinning, making them the single best upgrade for improving your climbing.
Tire Pressure
For climbing, especially on rough asphalt or mixed surfaces, slightly lower tire pressure can be beneficial. A reduction of 5 to 10 PSI can increase the tire’s contact patch with the road. This provides better traction, which is critical for preventing the rear wheel from slipping out when you are applying maximum power in the steepest parts of the ascent. Experiment to find a pressure that offers traction without feeling sluggish.
Professional Bike Fit
The final, and most essential, piece of equipment advice is ensuring your position is correct. A professional bike fit optimizes your saddle position (height and fore/aft) and handlebar reach. If your saddle is too low or too far forward, you will lose access to your powerful glute and hamstring muscles, forcing your weaker quads to do all the work, leading to premature fatigue and potential knee strain. A fit ensures every watt of power you generate is efficiently transferred to the pedals.
Conclusion: Conquer the Climb
Cycling uphill will always be hard work, that is the nature of the sport. But by applying structure and strategy, you can turn a demoralizing experience into a reliable, powerful performance.
Remember the three pillars of how to ride a bike uphill:
- Gear Down Early: Spin, do not grind. Shift to your easiest gear before the hill starts.
- Distribute Your Weight Efficiently: Stay seated for long efforts, moving slightly back on the saddle to engage your glutes.
- Pace Yourself: Start slow, aim for an RPE of 6−7, and conquer the hill in small, visual segments.
The true secret to becoming a better climber is consistency. There is no shortcut, no magic gear, and no single mental trick that works every time. Every hill you ride is training for the next one. Go find a challenging climb today, apply just one of these new techniques, and feel the difference. Climbing gets easier, and more rewarding, with every ascent. The mountain never gets smaller; you just learn how to climb it better.