Today, we’re diving into the essential skill of fixing a flat tire on your bicycle. It might not be the most glamorous part of cycling, but knowing how to handle a flat tire is a game-changer for any rider.
So, why should you bother learning to fix a flat tire on a bicycle? Well, imagine cruising down a beautiful trail or commuting to work when suddenly, you feel that dreaded wobble. Yep, a flat tire.
Knowing how to handle this situation means you won’t be stuck on the side of the road or trail waiting for help. Plus, it’s a handy skill that adds a bit of independence to your cycling adventures.
In this guide, we’ll break down the basic steps of fixing a flat tire, the must-have tools you need, and share some useful tips and tricks to make the process a breeze.
Why Should I Know to Fix a Flat Tire on a Bicycle?
Why learn to fix a flat tire on a bicycle? Well, picture this: you’re out enjoying a ride, feeling the breeze, when suddenly, you sense something’s off. That wobbly feeling? It’s a flat tire. Now, imagine not having a clue what to do. That’s where knowing how to fix it comes in handy.
First off, it saves you from being stranded. No one likes pushing a bike with a flat tire, right? Learning this skill means you’re not stuck waiting for help. You become your bike’s hero, ready to tackle any unexpected flats that come your way.
But it’s not just about being self-sufficient. Fixing a flat tire on a bicycle is like having a superpower. It adds a dose of independence to your cycling adventures. No need to stress when you’re miles away from home – you’ve got the know-how to handle it.
In a nutshell, learning to fix a flat tire isn’t just about fixing rubber and air. It’s about keeping the joy in your ride, avoiding those unexpected hiccups, and being the master of your two-wheeled destiny.
Essential Tools for Quick Fixes
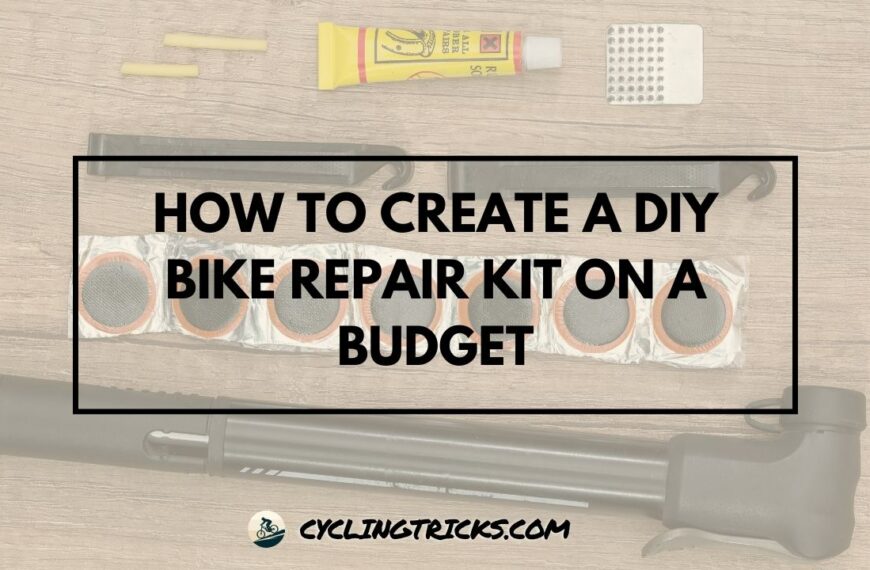
Let’s discuss a few essential bike maintenance tools for quick fixes
1. Portable Pump
Every cyclist needs a buddy, and in this case, it’s the portable pump. Imagine it as your bicycle’s breath of fresh air. This nifty tool does one job – inflating your tire in a jiffy. Small enough to fit in your backpack, it’s your go-to when that tire gets a little too flat for comfort.
2. Patch Kit
Meet the superhero of flat tires – the patch kit. It’s your trusty sidekick when you encounter those sneaky punctures. Inside this tiny kit, you’ll find patches ready to seal the deal and get you back on your ride. Easy to carry and a lifesaver in the right moment.
3. Tire Levers
Think of tire levers as the gentle giants of the bicycle repair world. These flat, spoon-like tools make prying your tire off a breeze. No wrestling with your tire – just slide these levers in, and voila, your tire is ready for its close-up. Simple, effective, and a must-have in your toolkit.
In a nutshell, these tools are your bicycle’s best friends. They’re not just tools; they’re the unsung heroes that turn a flat-tire frown into a fixed-tire smile. So, grab your portable pump, patch kit, and tire levers.
| Tool | Purpose | Features |
|---|---|---|
| Portable Pump | Inflates flat tires quickly | Compact, lightweight, and suitable for various valve types |
| Patch Kit | Repairs puncture in the inner tube | Includes adhesive patches, sandpaper, and instructions |
| Tire Levers | Facilitates easy removal of the tire from the rim | Durable, non-scratch material for safe tire removal |
Basic Steps of Fixing a Flat Tire on a Bicycle
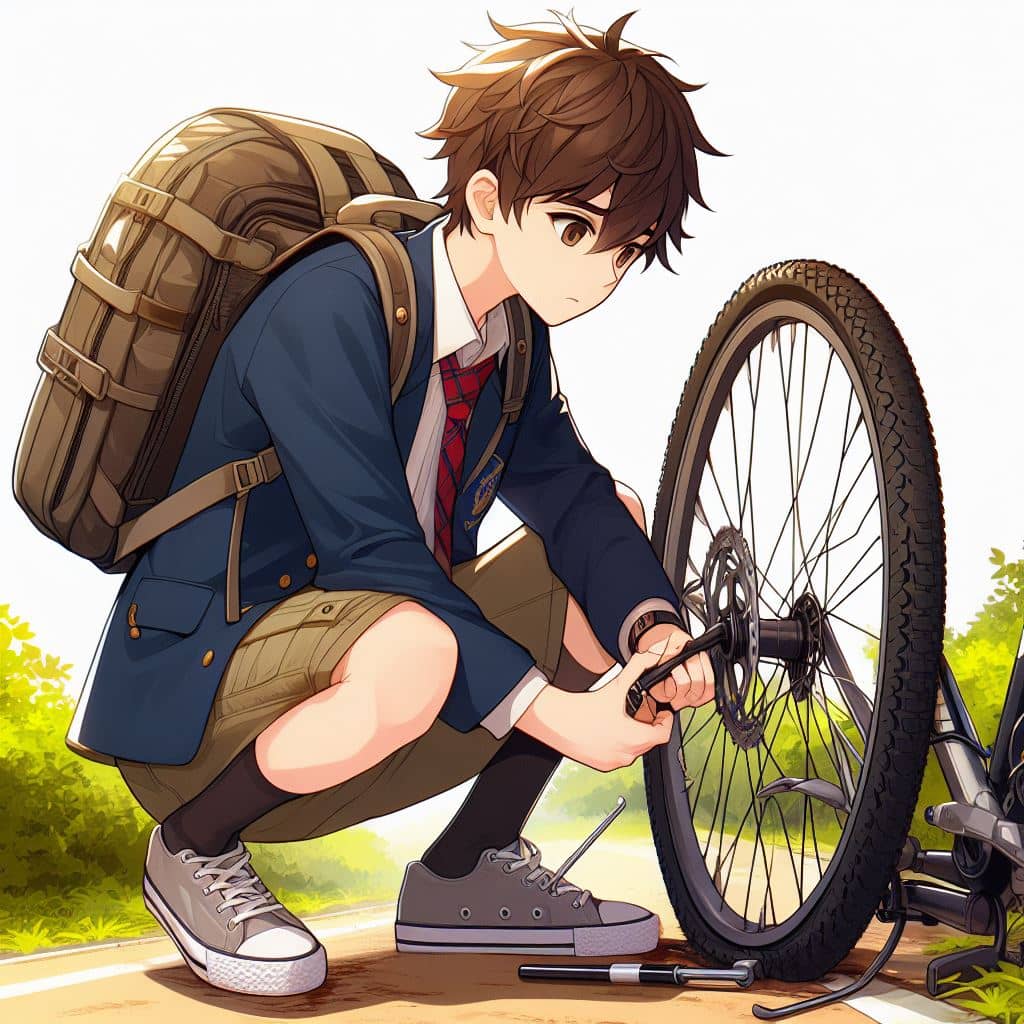
1. Gather Necessary Tools:
Time to play detective! First up, gather your trusty toolkit – portable pump, patch kit, and tire levers. Think of it as assembling your superhero squad before the mission begins.
2. Locate the Cause:
Get down and dirty (not too dirty, though). Figure out where the trouble lies. Check the tire for sharp objects or any foreign invaders causing the flat. It’s the investigation phase of your bike rescue mission.
3. Remove the Wheel:
Let’s get hands-on. Lift your bike onto its seat and handlebars, making it stand on its own two wheels. Use your newfound friend, the tire levers, to carefully pry the wheel off. Patience is key here.
4. Remove the Tire:
Peel off the tire gently using those trusty tire levers. Slow and steady wins the race – no need to rush. Soon, you’ll have the tire in your hands, ready for the next step.
5. Remove the Tube:
The inner tube is the culprit here. Carefully slide it out from the tire, taking note of its position. Isolate it like a detective securing evidence.
6. Inspect the Tire and Tube:
Give both the tire and tube a thorough once-over. Look for the puncture or any other issues. It’s like solving a mystery – find the problem, and you’re halfway to the solution.
7. Patch or Replace the Tube:
Time to fix things up. Use your patch kit to seal the deal if it’s a small puncture. If it’s beyond repair, swap it out with a spare tube. Easy peasy.
8. Reinstall the Tube and Tire:
Slide that patched or new tube back into the tire. Ensure it sits snugly inside. Now, slip the tire back onto the wheel, guiding it carefully over the rim.
9. Mount the Tire:
Use your hands to push the tire back onto the rim. It might take a bit of effort, but you’re almost there. No need to break a sweat; you’ve got this.
10. Inflate the Tire:
Here comes the fun part – inflate that tire using your portable pump. Keep an eye on the pressure; your bike’s comfort depends on it.
11. Check for Leaks:
Give your repaired tire a good once-over. Listen for leaks or feel for any escaping air. A keen ear and touch will tell you if your fix is solid.
12. Reinstall the Wheel:
Time to reunite the tire with its wheel. Slide the wheel back into place, ensuring it’s snug and secure. Your bike is almost ready to roll again.
13. Test the Repair:
Hop on and take your bike for a spin. Feel the wind in your hair and the solid ground beneath your tires. If all feels good, congratulations – you’ve successfully tackled a flat tire like a pro!
Some Useful Tips and Tricks for Fixing Flat Tire on a Bicycle
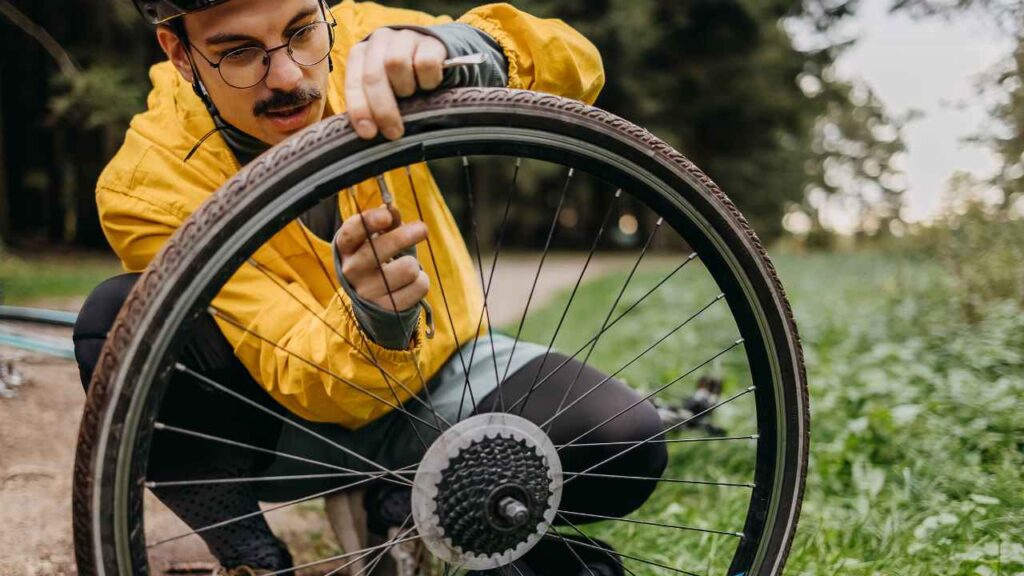
Fixing a flat tire might seem like a hassle, but with a few tips and tricks, you can make the process smoother. First off, always carry a small multi-tool with you. It can come in handy for various adjustments, especially when dealing with removing the wheel or adjusting the brakes.
When locating the cause of the flat, run your fingers along the inside of the tire. Sometimes, tiny sharp objects might still be embedded. Removing these can prevent future flats and keep your ride trouble-free.
As you inspect the tire and tube, be thorough. Check not only for punctures but also for any wear and tear on the tire itself. If the tire looks worn out, consider replacing it to avoid repeated flats down the road.
While patching the tube, ensure the area around the puncture is clean and dry. A well-applied patch is more likely to hold up against the rigors of the road. Additionally, carry a spare tube just in case the damage is beyond a quick patch job.
When mounting the tire back onto the wheel, pay attention to the direction of the tread. Aligning it correctly ensures better traction and a smoother ride. It’s a small detail that can make a big difference.
Inflating the tire to the recommended pressure is crucial for a comfortable and efficient ride. Invest in a small pressure gauge to keep track of the tire’s inflation level, preventing both under-inflation and over-inflation issues.
After the repair, give your bike a quick test ride in a safe area before hitting the road. Listen for any unusual sounds or feel for vibrations. This final check ensures that your fix is solid, and that you can pedal worry-free.
Remember, practice makes perfect. If you’re new to fixing flat tires, try it out at home a couple of times to get the hang of the process. The more familiar you are with your bike and its components, the easier it becomes to troubleshoot issues on the go.
By incorporating these tips into your flat-tire fixing routine, you’ll not only become a pro at handling unexpected flats but also enjoy a smoother and more enjoyable biking experience overall.
FAQs
What tools do I need to fix a flat tire on my bicycle?
You’ll need a portable pump, a patch kit, and tire levers for a quick and effective fix.
How can I prevent flat tires on my bicycle?
Regularly inspect your tires for sharp objects, maintain proper tire pressure, and consider using puncture-resistant tires.
Can I use any pump to inflate my bicycle tire?
Ideally, use a portable pump designed for bicycles, ensuring precise inflation and avoiding damage to the valve.
How often should I inspect my bicycle tires for potential issues?
Perform a quick inspection before each ride and a more thorough check every few weeks to catch potential problems early.
Is it necessary to replace the entire tire if I have a flat, or can I just patch it?
A: If the damage is minor, you can patch the tube; however, if the tire shows signs of significant wear, consider replacing it for long-term reliability.
Conclusion
In conclusion, mastering the art of fixing a flat tire on a bicycle is not just a skill; it’s a gateway to uninterrupted cycling adventures. Knowing the basic steps and having the essential tools or gear at hand transforms unexpected flat tires from roadblocks into minor bumps on your cycling journey.
By understanding the importance of this skill, you elevate your biking experience. It’s not merely about fixing rubber and air; it’s about self-sufficiency, independence, and the satisfaction of overcoming a common challenge.
You become the hero of your own ride, capable of handling the twists and turns that the road may throw your way.
Remember, the portable pump, patch kit, and tire levers aren’t just tools; they’re your companions on the road to keeping your wheels rolling smoothly.
The basic steps, from gathering your tools to testing the repair, become a routine that empowers you to handle flat tires with confidence.
Additionally, the useful tips and tricks shared here add valuable insights to your repair process. Carrying a multi-tool, inspecting the tire thoroughly, and aligning the tread correctly are small details that contribute to a hassle-free biking experience.
So, the next time you hear that hissing sound or feel that wobbly ride, fear not. Armed with the knowledge and equipped with your trusty tools, you’re ready to face the challenge head-on. Fixing a flat tire isn’t just a task; it’s a rite of passage for every cyclist – a skill that ensures your journey remains smooth, enjoyable, and, most importantly, on two wheels.

